1 · Export / Download
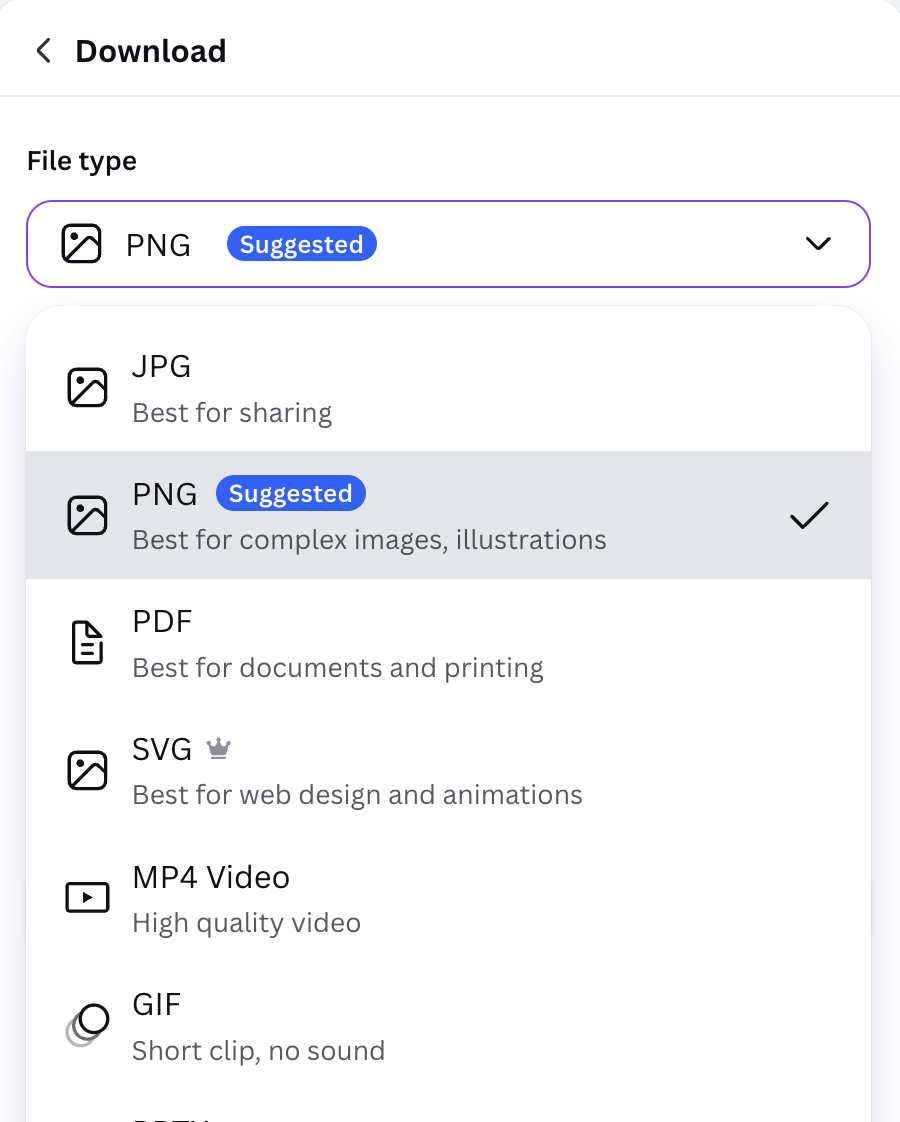
Choose Share → Download, then choose PNG as the file type and download the finished image. PNG works well for this assignment because you are turning in a finished illustration.
This week we looked at what happens after elements arrive on the page. Designers make decisions about size, space, proximity, grouping, alignment, hierarchy, balance, and visual weight so the viewer can understand what belongs together and what deserves attention first.
Space is not simply what is left over. It can separate, connect, organize, and give important elements room to be noticed.
Learn to recognize what each one does to the page. These ideas will keep showing up as your projects become more complex.
How large or small something feels compared with what surrounds it.
The area around, between, and inside elements. Space can do work.
How close or far apart things are.
Separate pieces that the eye reads as one unit.
Shared edges, centers, or visual lines that create order.
The order of importance: what you notice first, second, and third.
How visual weight is distributed across the composition.
How strongly an element pulls your attention.
Use the pieces in the Canva template to build an avatar that represents you. Everyone begins with the same supplied ingredients, but the finished avatars do not have to look the same. You may repeat the provided pieces and edit them to make your own choices, but do not add new design elements from Canva.
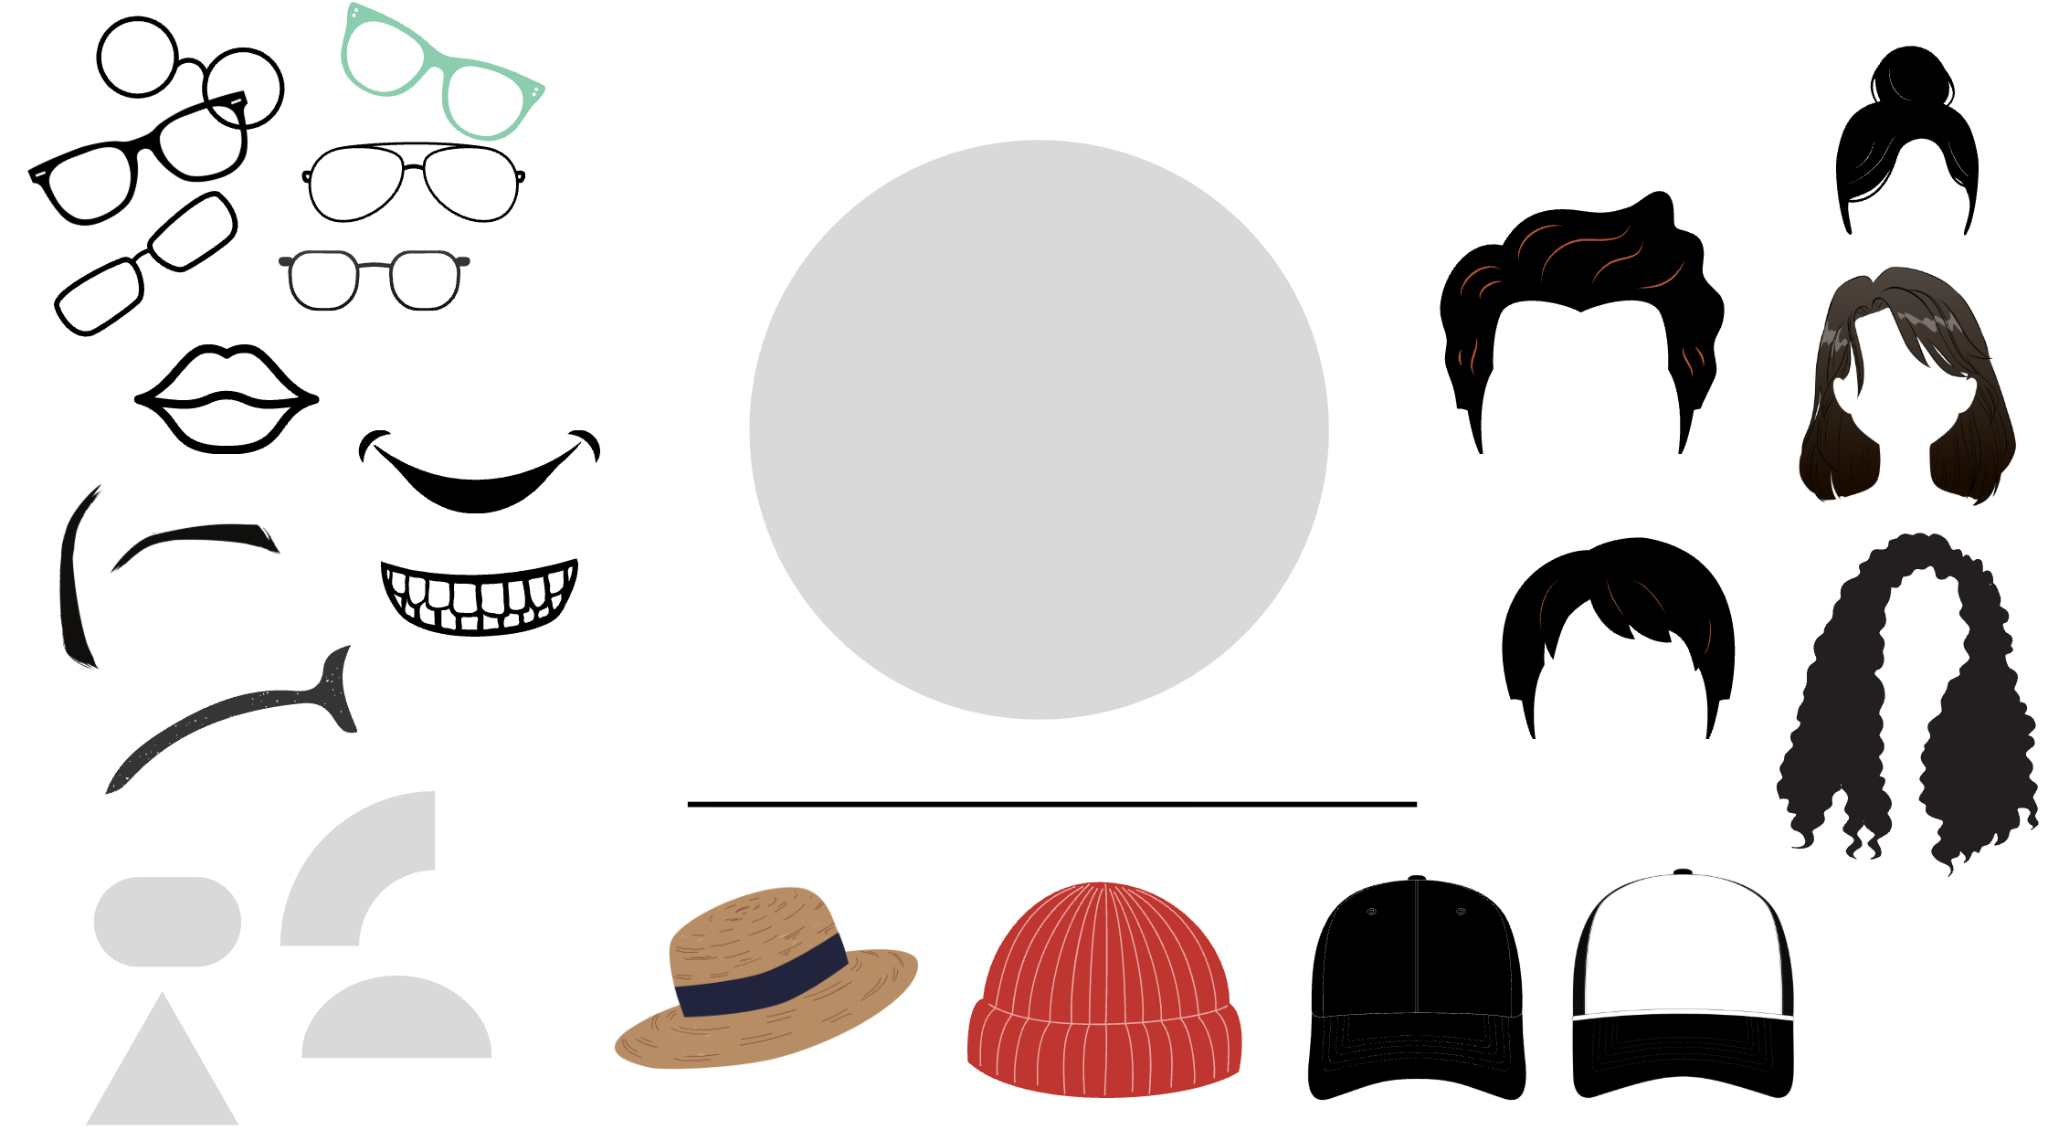
Work with the items provided on the template page.
You may resize, flip, recolor when Canva allows it, move, layer, align, group, duplicate, and combine the supplied pieces. Choose which provided features best represent you.
Do not replace the assignment by searching Canva for an entirely different ready-made character.
Designers often work with requirements they cannot change. A client may supply a logo, photographs, wording, colors, or other materials. Sometimes the ingredients are already on the table. The design work is in what you do with them.
Open the Canva Avatar Template →Export, share, and screenshot are different skills. Learn all three so you have more than one way to get your work where it needs to go.
Choose Share → Download, then choose PNG as the file type and download the finished image. PNG works well for this assignment because you are turning in a finished illustration.
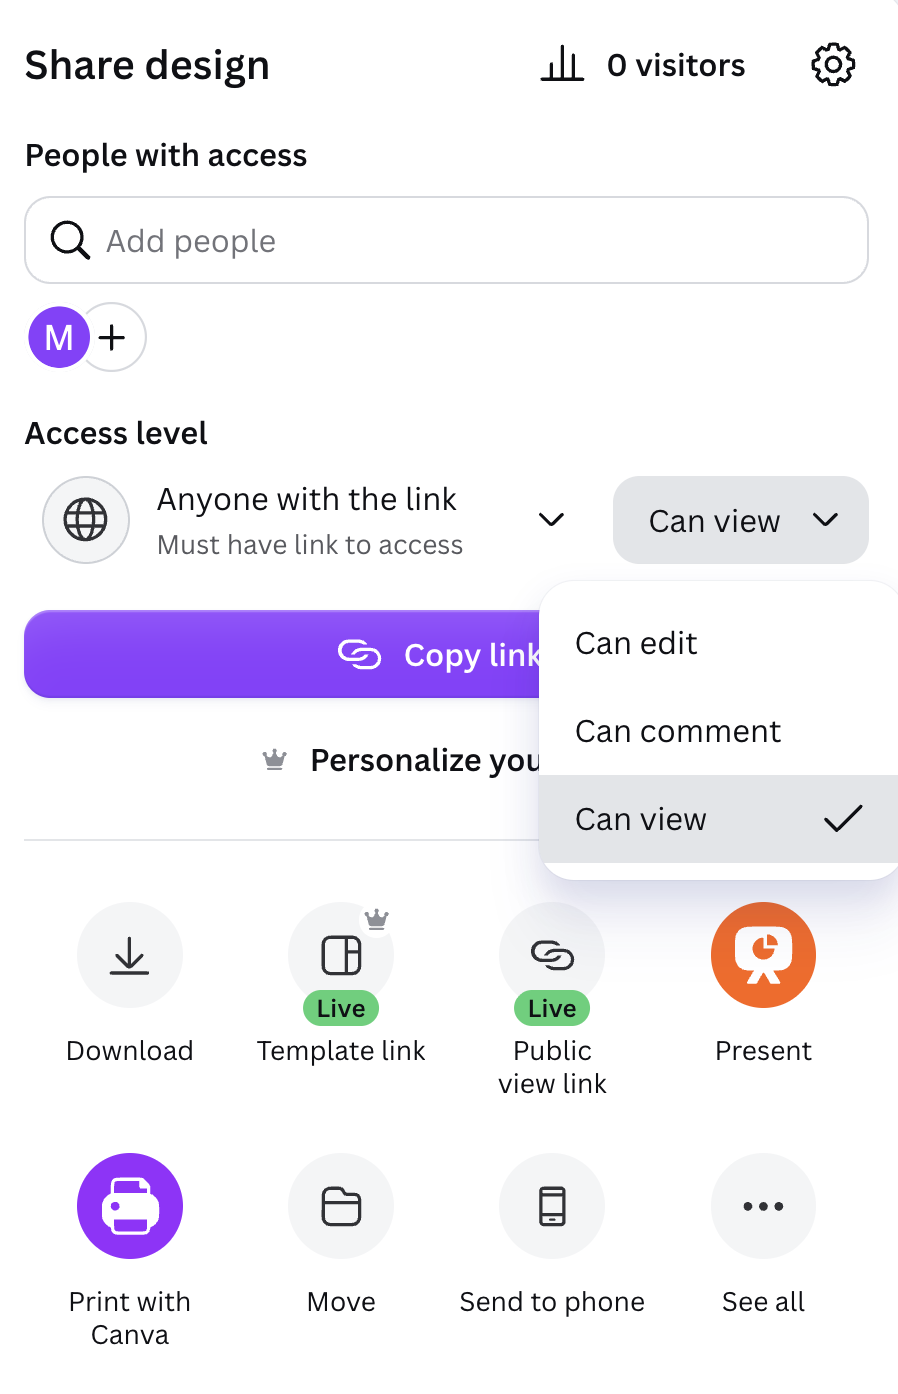
Choose Share, set the access level to Anyone with the link, and choose Can view. Then copy the link. “Can view” lets me see the design without giving me permission to edit your work.
A screenshot captures what is visible on your screen. Use it as another way to show your work, especially if a technical problem keeps you from exporting or sharing.
Send your finished Three Things About Me design to my email using an export, a view-only Canva link, or a screenshot.
Complete your Canva Avatar using the supplied template pieces. When you are finished, send it to me at least 24 hours before class starts.
Look beyond whether the page simply looks good. Ask what your size, spacing, grouping, alignment, and visual weight are telling the viewer.
I am preparing the next Canva Basics lesson to help you review the controls we are beginning to use. It will be added here by Saturday evening or Sunday. You are welcome to get started on the assignment if you already know what you want to create while you wait.